Modeling a 3D orc with Lightwave 3D
Chapter 8 - UV Mapping
page 5 of 5
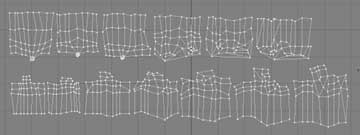
Now it's time for teeth, many cylindrical maps on the Y axis.
On now the half head is completely UVed, next step is to mirror the model and the map, choosing which part have to be symmetrical and which no.
Let's mirror the head and unweld vertexes (ctrl + u), then select polygons of new created half.
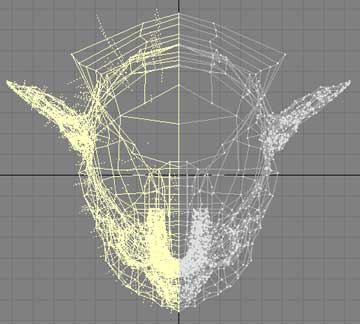
Deselect from UV Map polygons that don't have to be symmetrical (head, gums and teeth), flip U value of selected polygons then move them waiting to sew with other half.
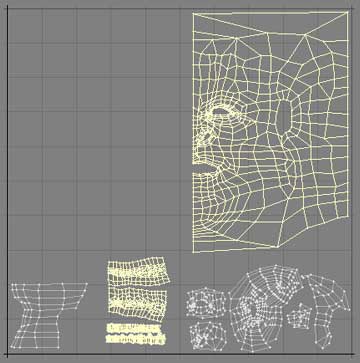
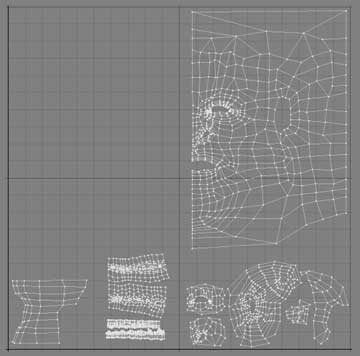
Now join together UV pieces using again Sew AVG, moving UV maps to cover the major UV area and merge (m) al polygons again.

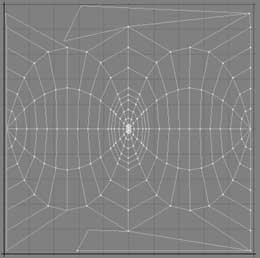
Ok, the head is now finished now create a new spherical map "eyes" for the eyeball (only for the eyeball, not for "eye_vitreous" polygons).
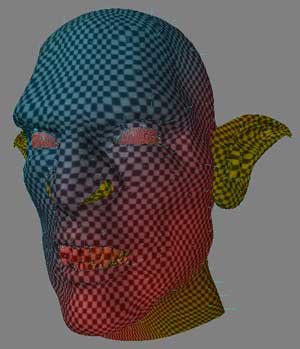
Woahahha the UV are now finished! This is the result on the model.