Modeling a 3D orc with Lightwave 3D
Chapter 8 - UV Mapping
page 4 of 5
Proceed to gums, a little longer to unwrap. To do it, i used 2 planar maps on the X axis and 1 planar map on the Y axis (where gums connect to teeth). Here's the first planar map on X axis...
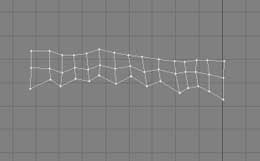
...this is the second...
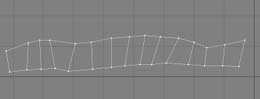
...and the final, on the Y axis.

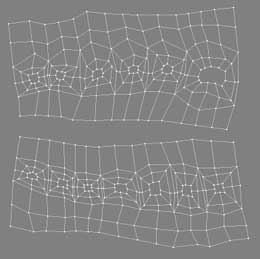
Tweak vertexes of the last map, then think how connect these 3 maps. For doing this, we need a very useful plug-in, called {link}1{/link} by CIM, you can download it {link}1:here{/link}. Ok, now flip correctly the maps and begin selecting points (how Sew AVG requires) and weld vertexes; this should be the result.
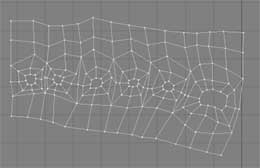
Repeat the same process for lower gums...