Modeling a 3D orc with Lightwave 3D
Chapter 3 - Mouth modeling
page 2 of 3
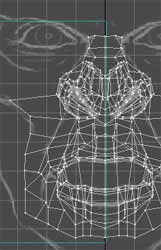
Now activate the symmetry tool in the bottom menu, select the polygons with "mouth_inside" material, and use Smooth Shift tool, to add the geometry for the inside of the mouth. Use it twice to create a basic geometry, then flip f all the polygons to have a better view for adjusting on the Z axis the throath vertex.
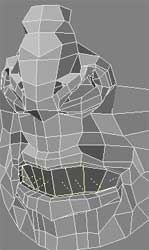
Bandsaw with 1 division the inside of the mouth, rotate and pull down throath polygons.
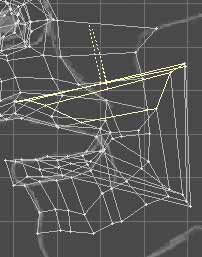
Pulling up some vertex on the palate, to create the space for future addiction of teeth.
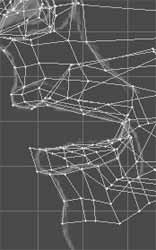
Ok, now choose the volume - exclude selection tool ctrl + j, paying attention to select correctly, and delete the left half of the model, we continue modeling the other one.