Modeling a 3D orc with Lightwave 3D
Chapter 8 - UV Mapping
page 2 of 5
I loaded my usual "checker UV Map" () to adjust my UV: merge polygons with m and change to "Texture" view mode.

Now the main trouble is to eliminate (or reduce) distortion, so let's have a check of the model trying to focus where distortions
are:
- eye area: little distortion
- nose-forehead: medium distortion
- under the chin: very high distortion
- superior head: very high distortion
These are the main areas where we'll try to, moving vertexes and not only this, eliminate or reduce distortion. Let's start from nose
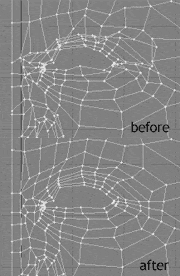
area. Begin spreading eyelid dragging (ctrl + t) vertexes as shown on image.

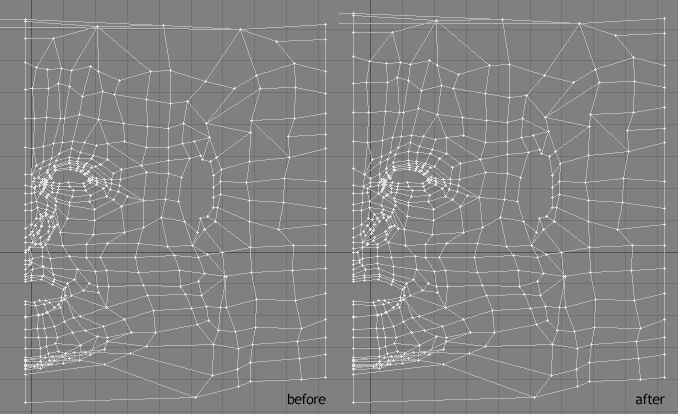
Now enlarge a little the UV as seen on image to better fit checker map.

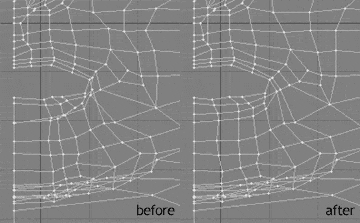
Now focus on mouth area.
