Modeling a 3D orc with Lightwave 3D
Chapter 8 - UV Mapping
page 3 of 5
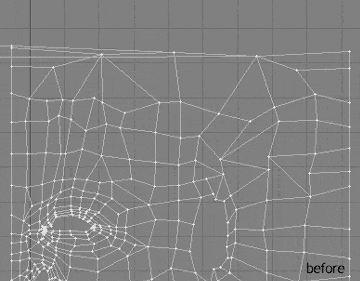
Proceed with your flat-iron to the chin critical area.
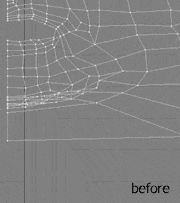
Now superior head: notice that we reduce (no eliminate) distortion problem; it isn't really important for me to correctly texture the head, cause i don't need it. Whenever i'll need it, i'll create a new UV and blend with this, using a gradient alpha map. This tech would be useful for other parts of the model too.
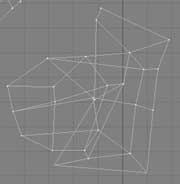
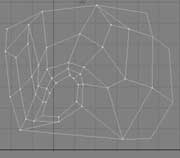
Ok, i showed you how boring is unwrapping a model, it's useful that i describe step by step other unwrapping, so i'll show you my results. Let's start from the ear, basically 2 planar maps on X axis (use polygon statistics to correctly select polygons).
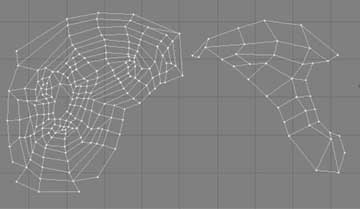
Going on with "eye_socket","nostril_inside","mouth_inside" and "ear_inside" polygons. Eye socket, spherical mapping on Y axis and little vertexes tweaking.

"nostril_inside", cylindrical mapping on Y axis and medium vertexes tweaking.
"mouth_inside", cylindrical mapping on X axis and medium-high vertexes tweaking.
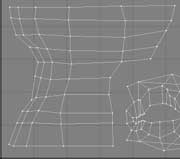
"ear_inside", cylindrical mapping on Z axis and very high vertexes tweaking (and i'm not very sure about the result).