Modeling a 3D orc with Lightwave 3D
Chapter 6 - Join the pieces
page 1 of 3
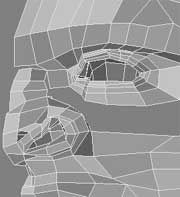
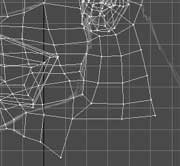
Now it's time to connect the 3 pieces. Begin welding the vertexes of the upper nose with the forehead and create a first bridge of connection polygons around the orbital area till the cheek-bone.
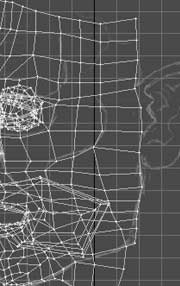
Now create another column of polygons, from temple to beginning of mandible.
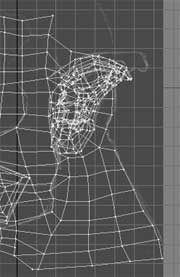
It's time to connect the ear: paste it on this layer, move and rotate it to fit the BP, then delete useless polygons and weld vertexes with the last created polygons.
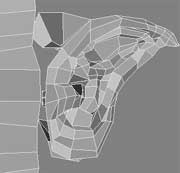
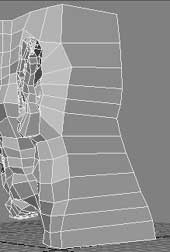
Create a bunch of polygons for the neck, behind the ear, then connect it with the polygons under the chin.
Continue with neck polygons and so on behind the head.
Bandsaw with 1 division the neck column of polygons, to add more detail useful later.
Ok, remember what we've done with the ear, we created an "uglypoly" and beveled it to create a bridge to connect it with the head? Now we've to do something similar, for the upper head.