Modeling a 3D orc with Lightwave 3D
Chapter 4 - Eye modeling
page 1 of 4
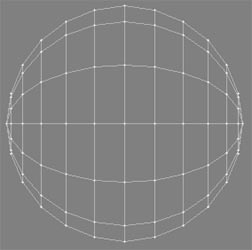
Let's start from the eyeball: create a ball of 12 sides and 12 segments, all radius to 18 mm and with 0,0,0 center (we'll move it in the correct position later). Give it a new surface "eyeball" (q) then add some detail to the iris polygons via Bandsaw.
Resize down the triangle fan and Bandsaw two times the created space.
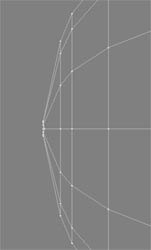
Select again the triangle fan, and via Smooth Shift pull inside the eye the new polygons to create the pupil area.

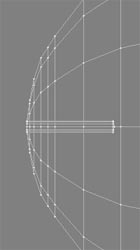
And now the final touches. Use Bandsaw to get another row of polygons to pull away the iris, then resize a and move it inside (a bit) to give the iris a light contour.
Create another sphere in another layer, give it a new surface "eye_vitreous" and deform it like shown on the pictures.
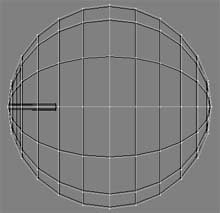
Ok, now we have our eyeball (nb. it's a very basical eyeball!) but we need a place to put it.