Modeling a 3D orc with Lightwave 3D
Chapter 5 - Ear modeling
page 2 of 3
Bandsaw with 2 divisions the outer shape of the ear to add detail.
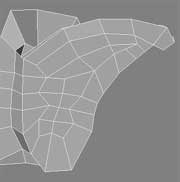
Pulling inside polygons to create the ear cavity then tweak lobe vertexes to give it a more natural look.
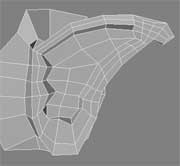
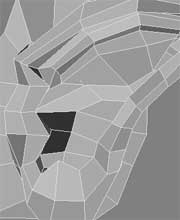
Adjust the point of the ear to get a sharper look.
Now add geometry to the upper pavilion using Bandsaw with 2 divisions then tweak these polygons as shown on the images.
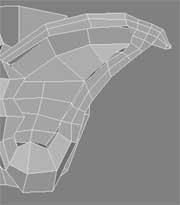
Let's start with the ear canal, select polygons as shown on image and give them a new surface "ear_canal", then begin to add geometry via Smooth Shift tool.
Continue with Smooth Shift to create all the canal (it's not very clear to explain with images, i try with top and perspective view).

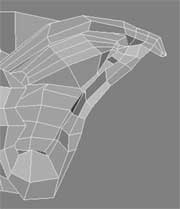
Add more geometry to the pavilion, Bandsaw with 2 divisions and move it to define the vertical fold.
