Modeling a 3D orc with Lightwave 3D
Chapter 5 - Ear modeling
page 1 of 3
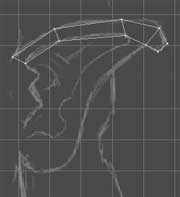
Let's start modeling the ear create a basic bunch of polygons forming the upper part of the ear, then continue to the lobe following the BP, adding detail when it's necessary.
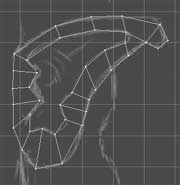
Add the other polygons to close the ear, then fill the inner area of the ear.
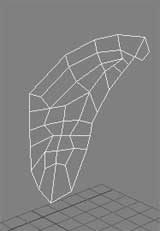
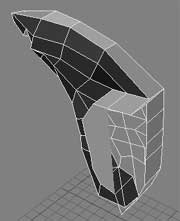
Extrude the created polygons to get in depth, then select the extruded polygons and give them a new surface called "ear_back" then delete polygons as shown on the image.
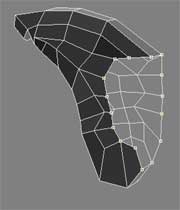
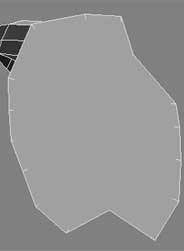
Ok, now a not very easy step: one time i saw doing this with a plugin called Extender, but i like to do this without external plugins so i select all the points to create a unique polygons where we deleted the connection polygons (thinking NOW about it, this could be done with Smooth Shift too...). This new polygons is ugly and incorrect, but is a temporary too ("uglypol" from now): we'll delete it soon...
Bevel out the "uglypol", then with the "Detail" > "Set Value" tool uniform the X value of the points.
Now bevel again the "uglypoly" and resize it as shown on the images.
At least we can delete the "uglypoly" and going back to the ear.