Modeling a 3D orc with Lightwave 3D
Chapter 2 - Nose modeling
page 1 of 3
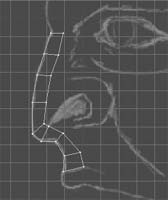
Ok let's start with modeling, creating a first column of polygons, following the BP guidelines as seen on the image, press q to give them a new material called "orc_skin", it doesn't matter choosing the color now.
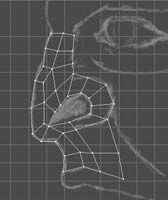
Let's add another bunch of polygons on the nose area, following the nostril direction and leaving it empty.
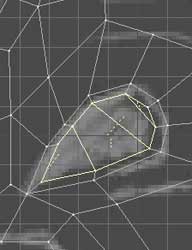
Now create 4 polygons that covers the nostril area, press q to give them a new material, named "nostril_inside".

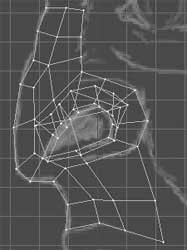
Now we're gonna build the inside of the nose, using the Smooth Shift tool. Use it one time and scale down the new polygons.
Then use the tool again 2 times, moving vertically the created polygons, trying to model the inside of the nose (Using the perspective view with Metaform activated it will be more simple).